Additional Options in Jiffy Table Chart
Last Updated: May 10, 2022
Last Updated: May 10, 2022
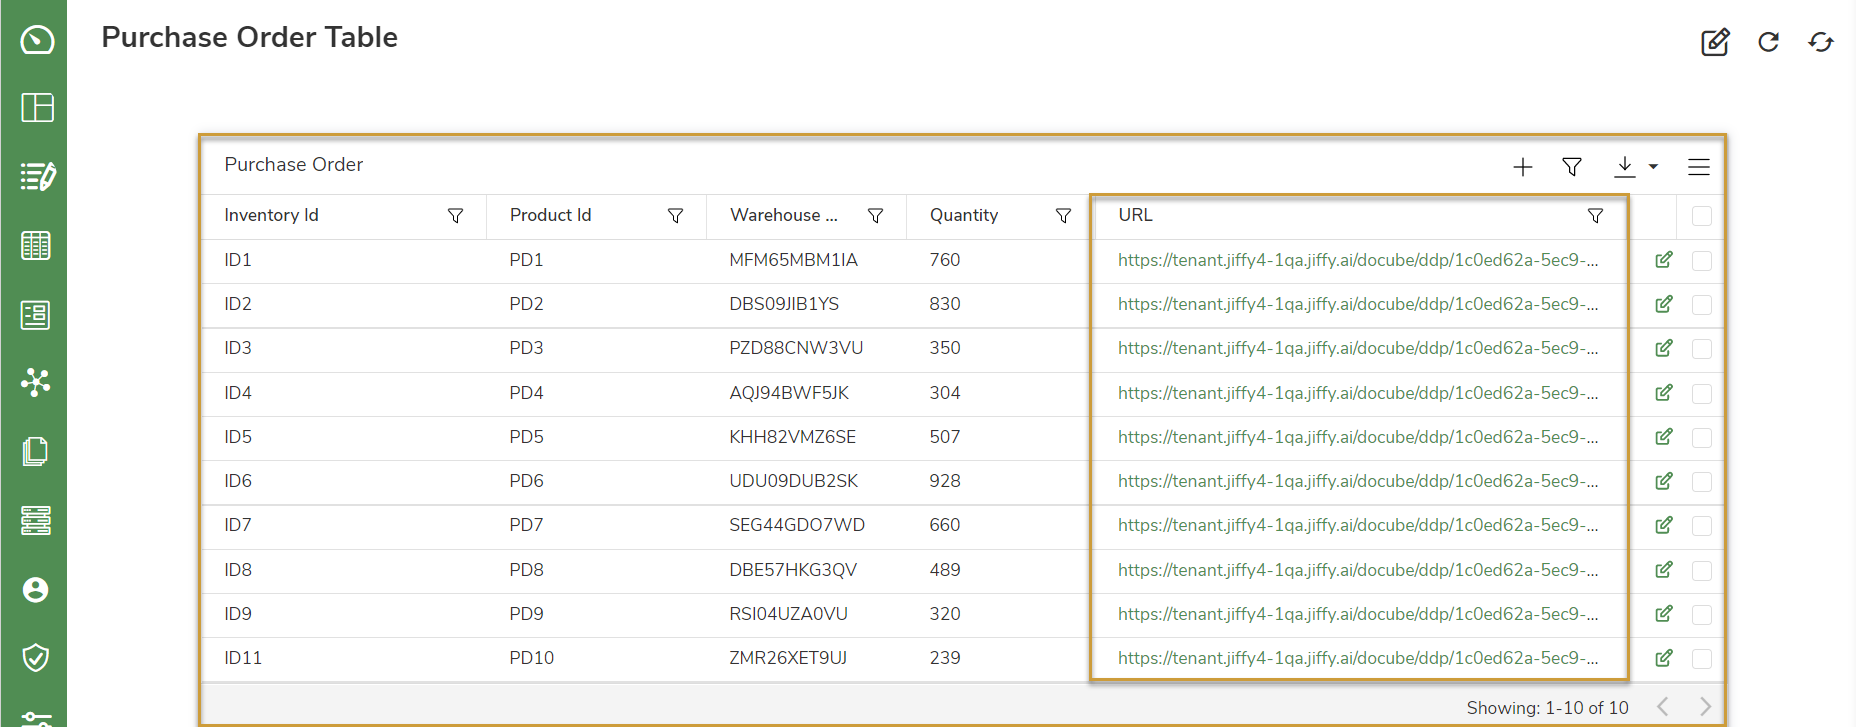
Business users access Jiffy Table Presentations to add or edit data and take necessary actions required in the process flow. On the Presentation listing page, click the name of the Jiffy Table Presentation to be modified.
The following options are displayed at the top right corner of the Jiffy Table Presentation.
.png) option at the top right corner to filter the records.
option at the top right corner to filter the records. icon at the top right corner.
.png) option to show/hide default view of the columns.
option to show/hide default view of the columns.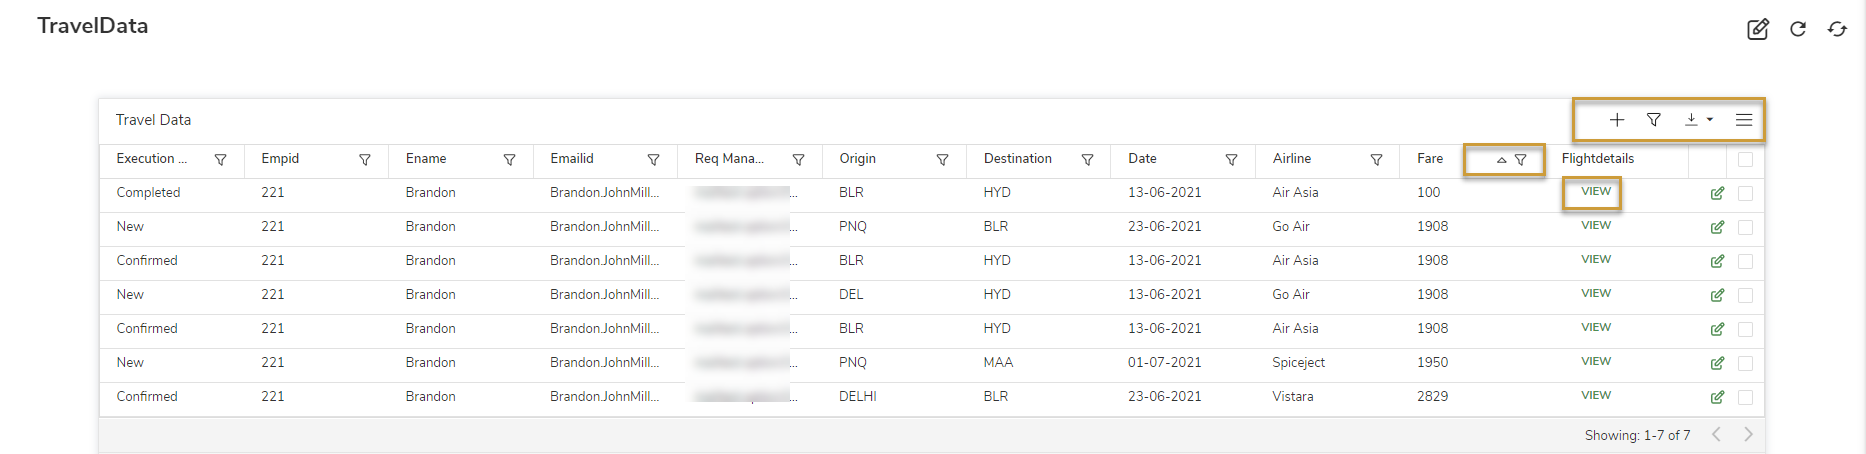
.png) icon.
icon..png) icon.
icon..png) icon to download.
icon to download..png) icon to edit the records.
icon to edit the records..png)
Click the
icon to resize the Forms window.
Modifications of the records are auto refreshed and displayed on the Presentation.
Table preferences are saved at User level.
- When Business User logs in next time, the saved preferences are retained in the Presentation.
- If Designer makes any changes, it overrides the user preferences.
To navigate from one Presentation to another, use Get Presentation URL function to generate URL of the Presentation, with the required filters on the Jiffy Table.