The following sample task is created using the Excel and Web UI nodes to automate the following process:
- Captures input values from the Excel file using Excel node.
- The captured values are then used by the Web UI node to search for flights in a web application based on the input values (origin and destination) automatically from the Excel file.
Do the following to automate the above process:
- In the Task Design screen, click on the << icon present on the right-hand side toolbar to expand the Nodes section.
- Drag and drop the Excel and Document Processing nodes respectively from the Nodes section and align them in a sequential order.
Make sure that the Task Design screen is in Edit mode (the
Edit button must be highlighted in green colour).
- Double-click on the Excel node.
- Select any existing configuration if it matches the criteria of the user or create a new configuration. Refer to Setting up Excel Configuration section for more details.
- Click on the Properties tab and provide the required details.
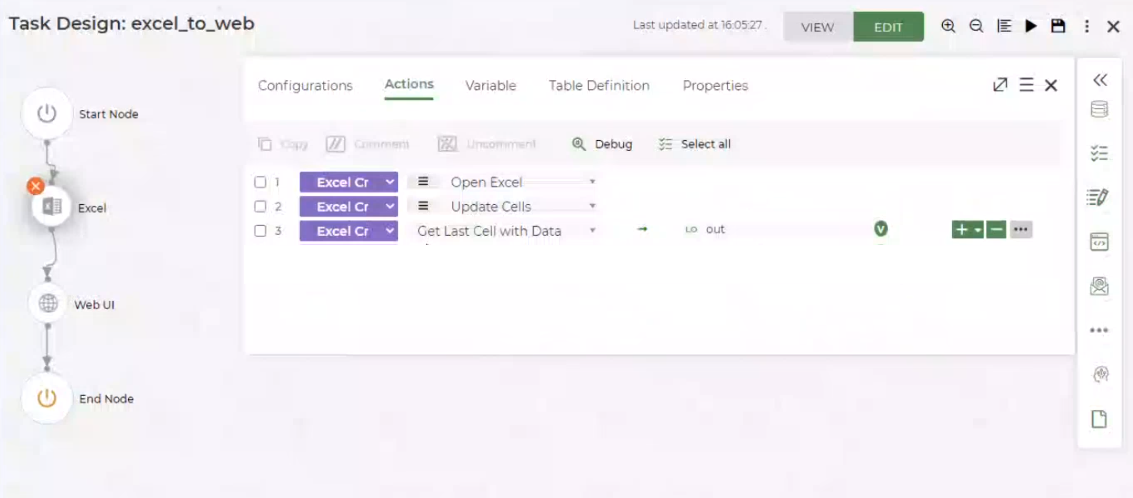
- Click on the Actions tab.
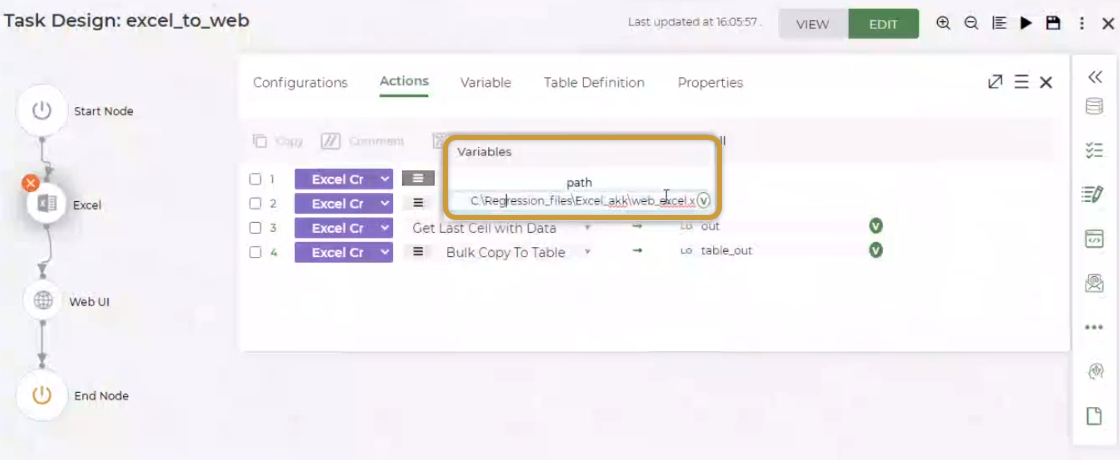
- Select the Excel Cmd option and then select the Open Excel
function. Click on the ≡ icon and then provide the path in which
the excel file is present.
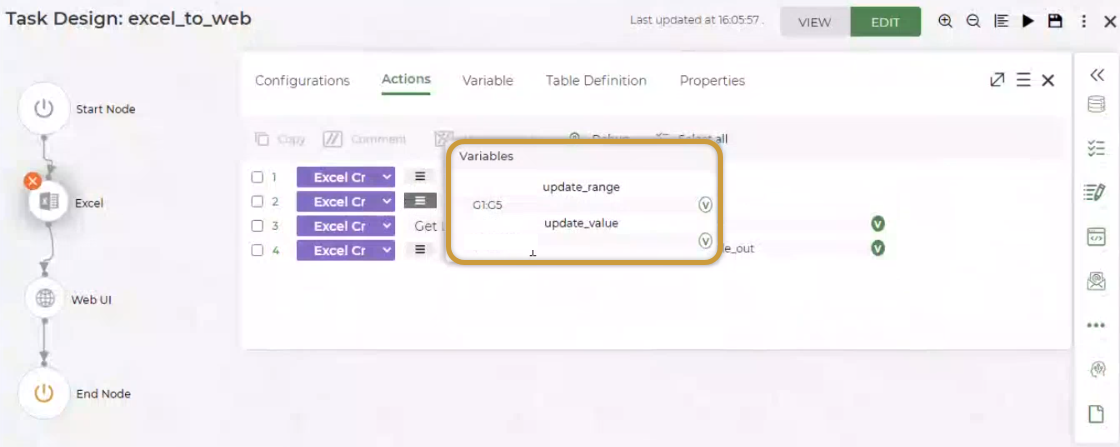
- Select the + icon, select the Excel Cmd option in the second
step and then select the Update Cells function. Click on the
≡ icon and then provide the update range and update value. Example: (Update Range: G1:G5, Update Value: India)
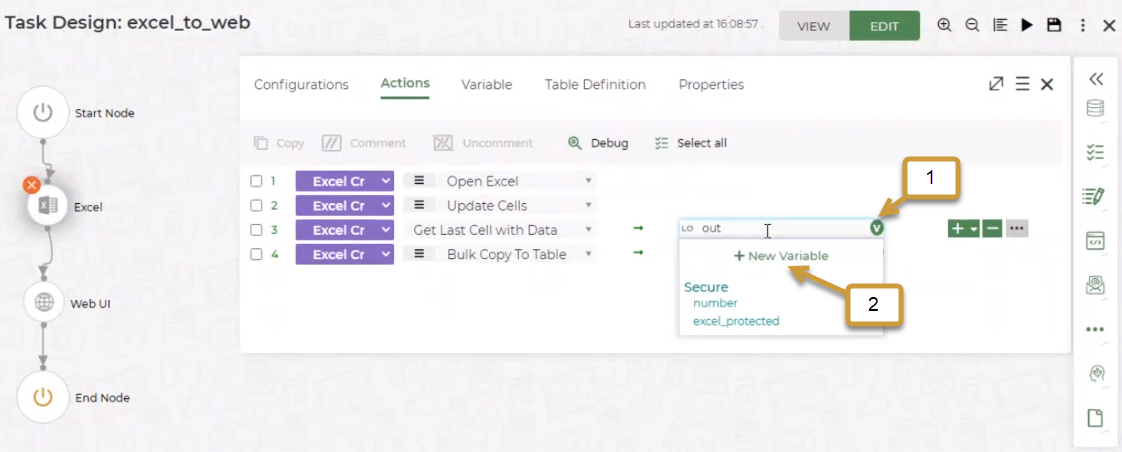
- Select the + icon, select the Excel Cmd option in the third
step and then select the Get Last Cell with Data function.
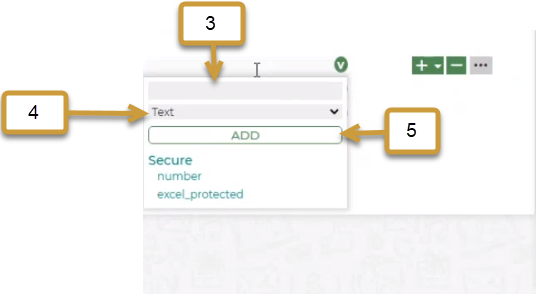
- Click on the V icon in the third step (1).
- Click on the New Variable option (2).
- Type the required variable name (3), select the type of the variable
(4). The data in the last row of the Excel sheet will be saved to
this variable.
- Click on the ADD button (5).
The created variables are listed respectively under Input in red font, Local in black font and Secure in blue font depending on the type of variable created.
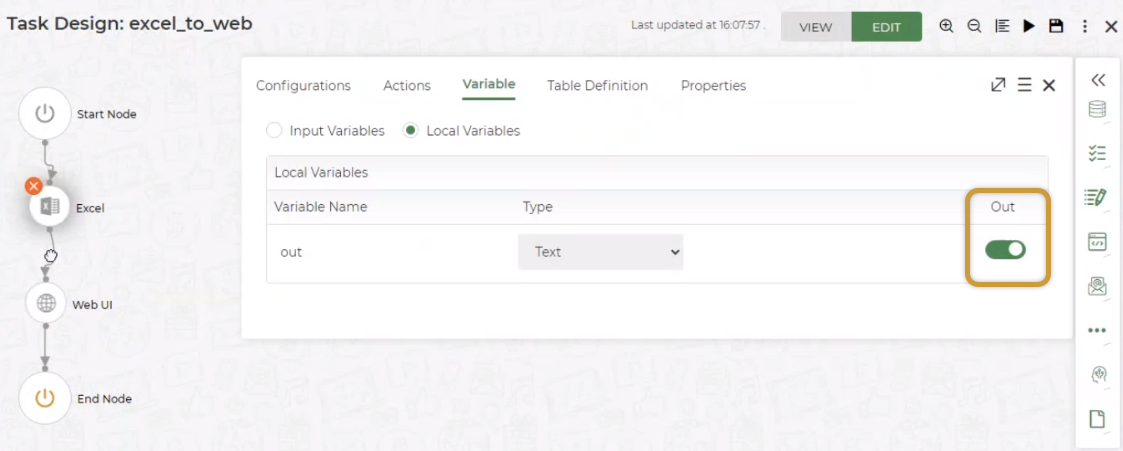
- Click on the Variable tab and then enable the highlighted toggle button. Upon enabling this toggle button, the variable can be mapped to the succeeding node.
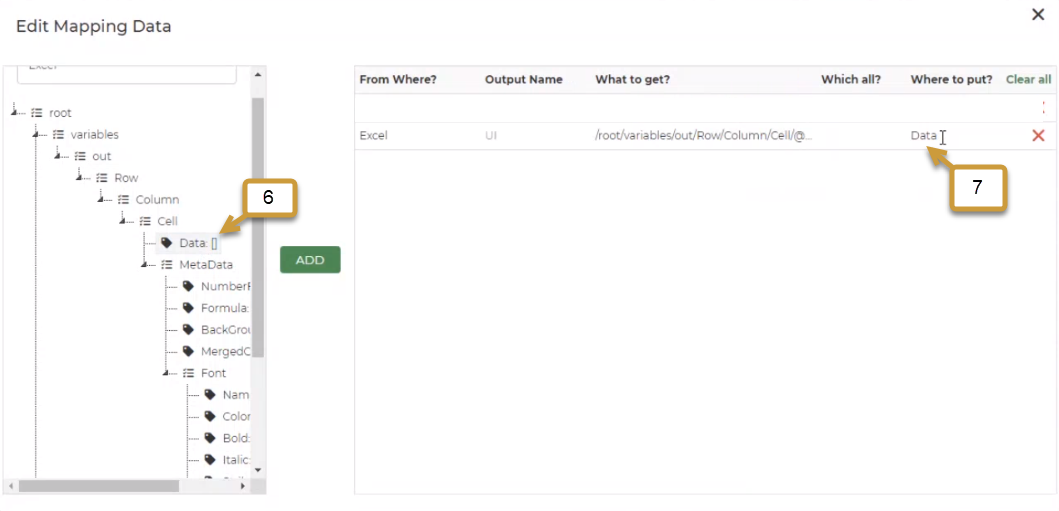
- Double-click on the line between the Excel and Web-UI node to view the Edit Mapping Data window.
- Select the Data field (6) from the left hand send section, click on the ADD button, select the Data text in the Where to
put? column and then replace the text with the variable name out. (Now, the input variable is mapped to the Web UI node).
- Double-click on the Web UI node.
- Select any existing configuration if it matches the criteria of the user or create a new configuration. Refer to Setting up Web UI
Configuration section for more details.
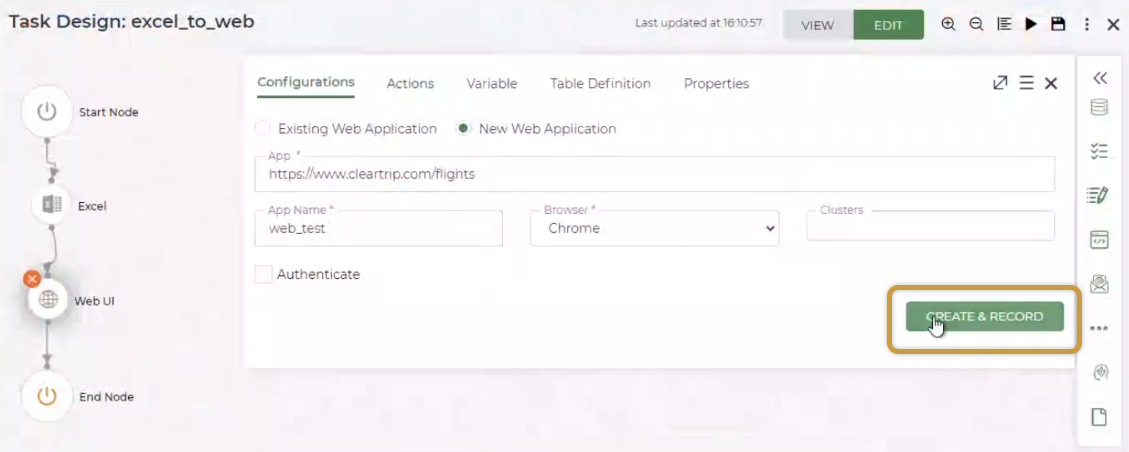
- App: Provide the URL of the web application to be automated.
- App Name: Provide the required application name. This value is specific to the web application.
- Browser: Select the required browser (Chrome).
- Cluster: Select the required cluster from this drop-down. This is applicable only when the task is being executed using an Execution. Bot. In this example, the Cluster field is left-blank as the task is executed using Developer Bot.
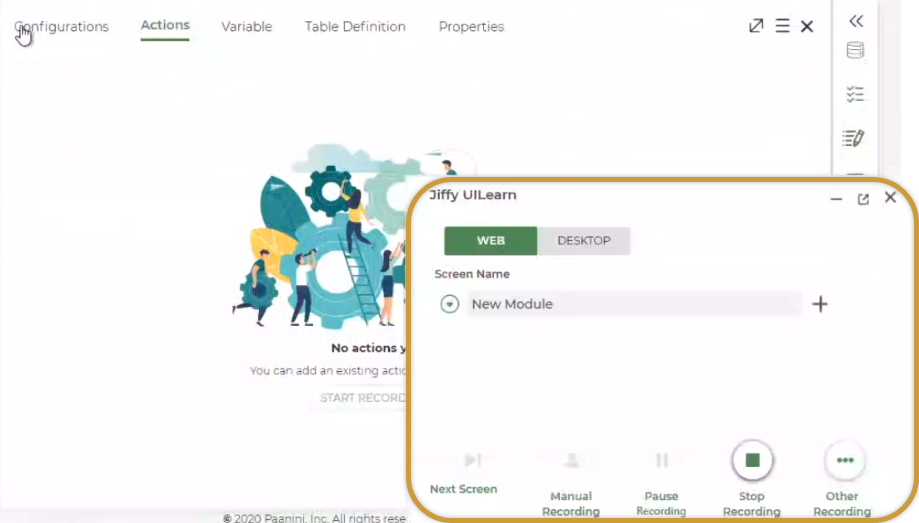
- Click on the CREATE & RECORD button. The UI Learn window appears.
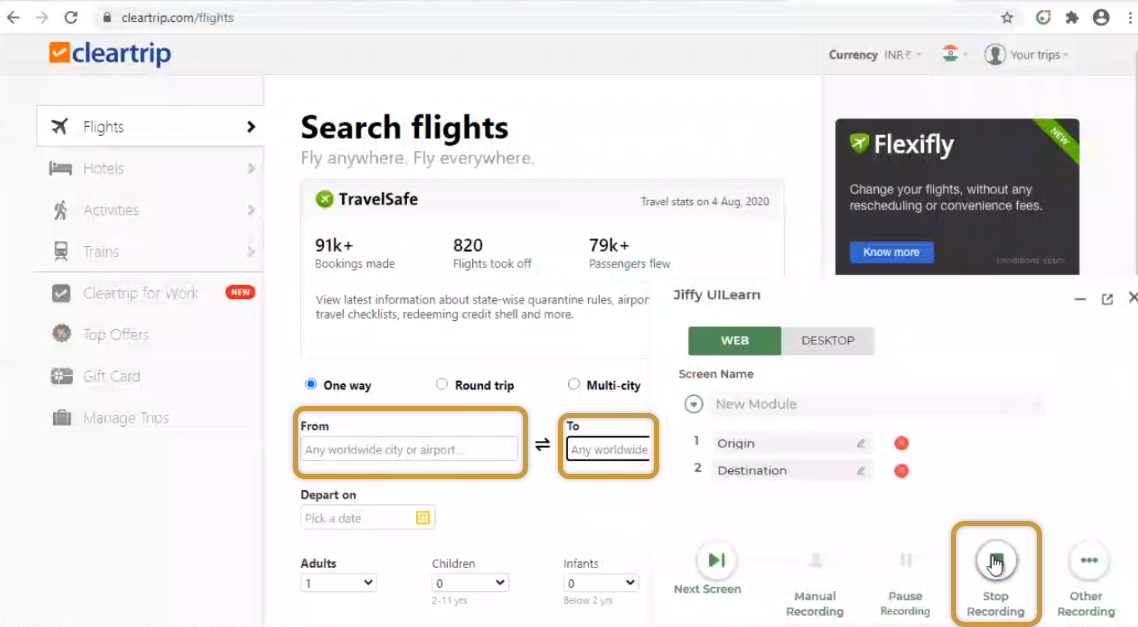
- Go the web application that must be automated (cleartrip.com). Hold the Ctrl key and then click on the required fields to be recorded for automation.
- Click on the Stop Recording button.
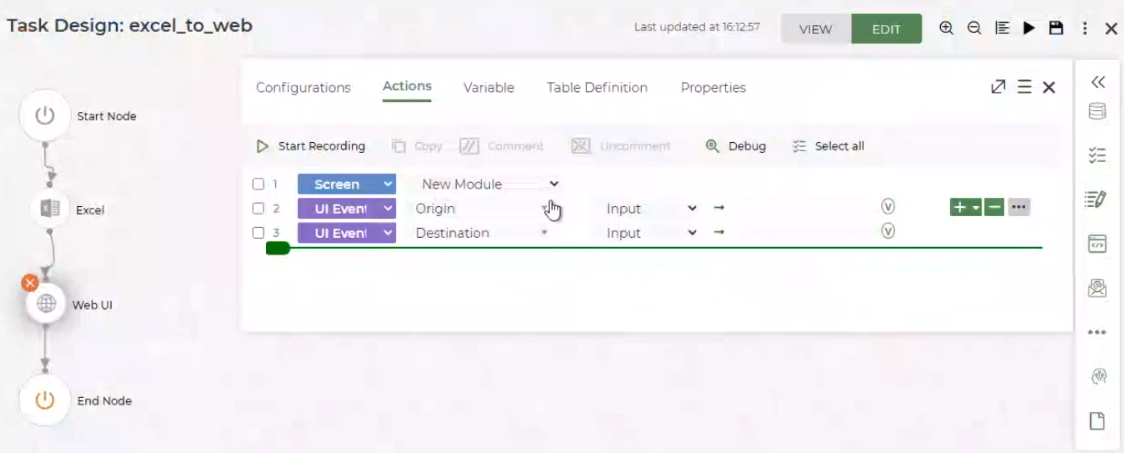
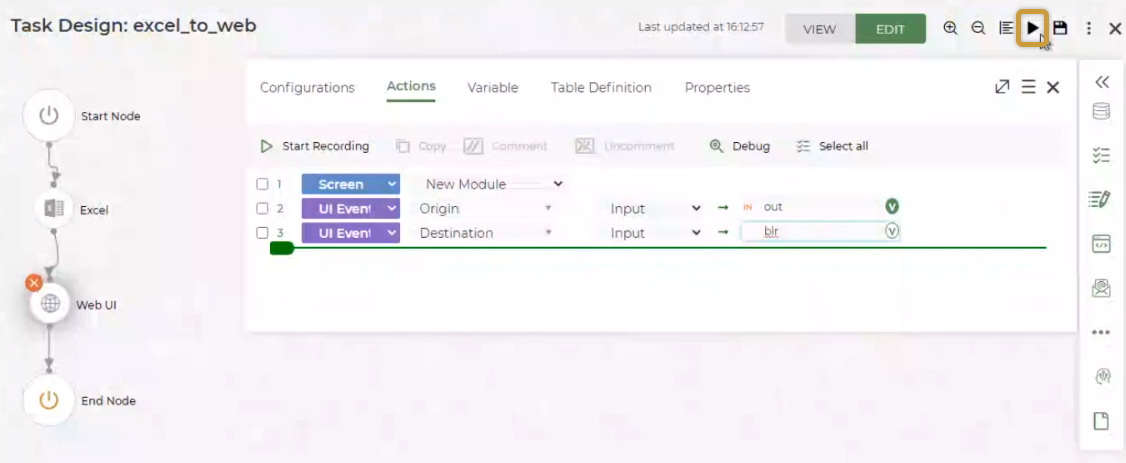
- Click on the Actions tab. The
- Select the Screen option in the first step as shown below and then select the screen name (New Module).
- Click on the + icon, select the UI Event option and then select the Origin option.
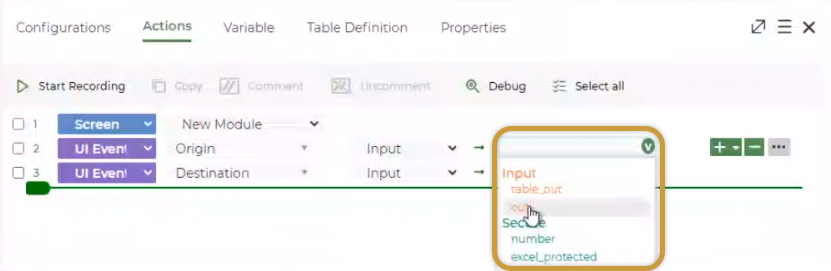
- Click on the V icon and then select the input variable (out).
- Click on the + icon, select the UI Event option and then select the Destination option.
- Type the destination input value manually (Dubai).
- Click on the Trail Run icon to execute the task.
- Upon execution, the input values (India: Origin, Dubai: Destination) are captured from the Excel sheet and Web UI node respectively and
then these details are provided automatically in the web application to search for the flights based on the input values.
- Click on the Excel node and then click on the Result icon to view the Result of Execution.
- Similarly, click on the Web UI node and then click on the Result icon to view the Result of Execution.