
Jiffy Bot Installation
Last Updated: Jun 22, 2022
Last Updated: Jun 22, 2022
This section explains how to install and run Jiffy Bot on a Windows environment.
To know more about Infrastructure Requirement for the Prerequisites of BOT/windows, click here.
.png) menu.
menu.
.jpg)
.png)
Extract the downloaded file JiffyInstaller.zip.
The versions in the screenshots may differ from the version that the user is running.
In the extracted folder, right click the Jiffy-Bot-Manager.exe file, select the Run as Administrator option.
It is mandatory to Run the Jiffy client installation as an Administrator.
.png)
Click the Yes button to allow the app to be installed.
.jpg)
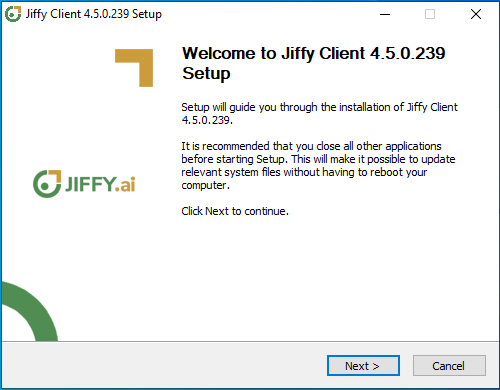
Click the Next button to start the installation.
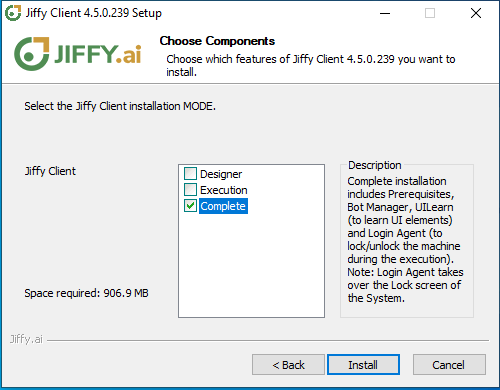
Select the Complete option and click the Install button.
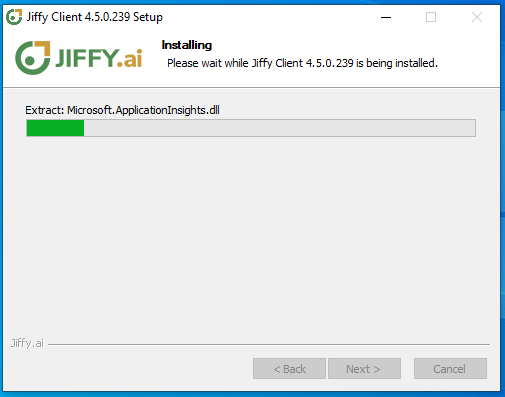
Close any instance of Google Chrome running during the installation, when the installer prompts the following dialog box. Click the OK button to continue.
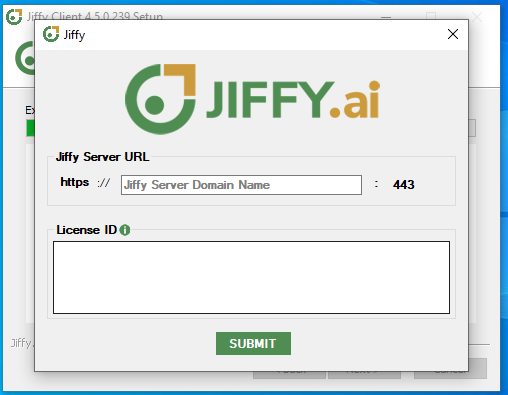
In the installer configuration window, specify the Jiffy Server Domain Name and the License ID. Click the SUBMIT button.
These details are provided with the installation instructions.
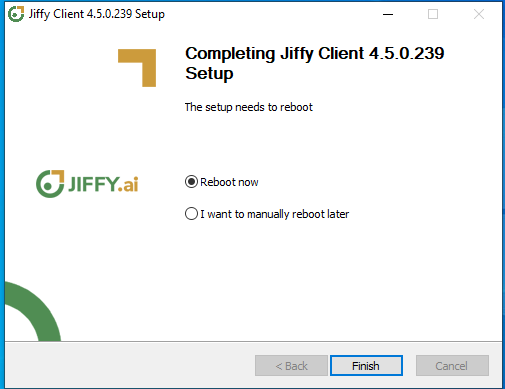
Once the installation is complete, reboot the machine.
Run the Jiffy Diagnostic tool as admin from the extracted folder to ensure proper installation.
.png)
To do this:
.jpg)
.jpg)
.png) icon from the Taskbar.
icon from the Taskbar..png) You will be directed to Jiffy Login screen in the browser.
You will be directed to Jiffy Login screen in the browser..png) On successful login, the developer bot starts, Bot console window appears in the task bar, and the following window appears which you can close to proceed further.
On successful login, the developer bot starts, Bot console window appears in the task bar, and the following window appears which you can close to proceed further.
.png)
If you have already logged in to Jiffy, the developer bot will be started and Bot console window appears in the task bar.
Click here to know more about Command Line Installation.
In the 4.7 version, after installing the bot, the server Nginx certificate must be added explicitly in the Jiffy client service Java trust store. This is necessary to trust the server’s Nginx certificate in the Jiffy service Java trust store to build a secure handshake SSL connection between the Jiffy client and the Jiffy server.
To Add Nginx Certificate to Java Keystore:
cd C:\jiffyservice\java\java-1.8.0\bin
.\keytool.exe -importcert -file {nginx-cert-path-and-file.pem} -alias updatedcert -keystore ..\lib\security\cacerts -storepass changeit