
Design a New Task
Last Updated: May 10, 2022
Last Updated: May 10, 2022
.png)
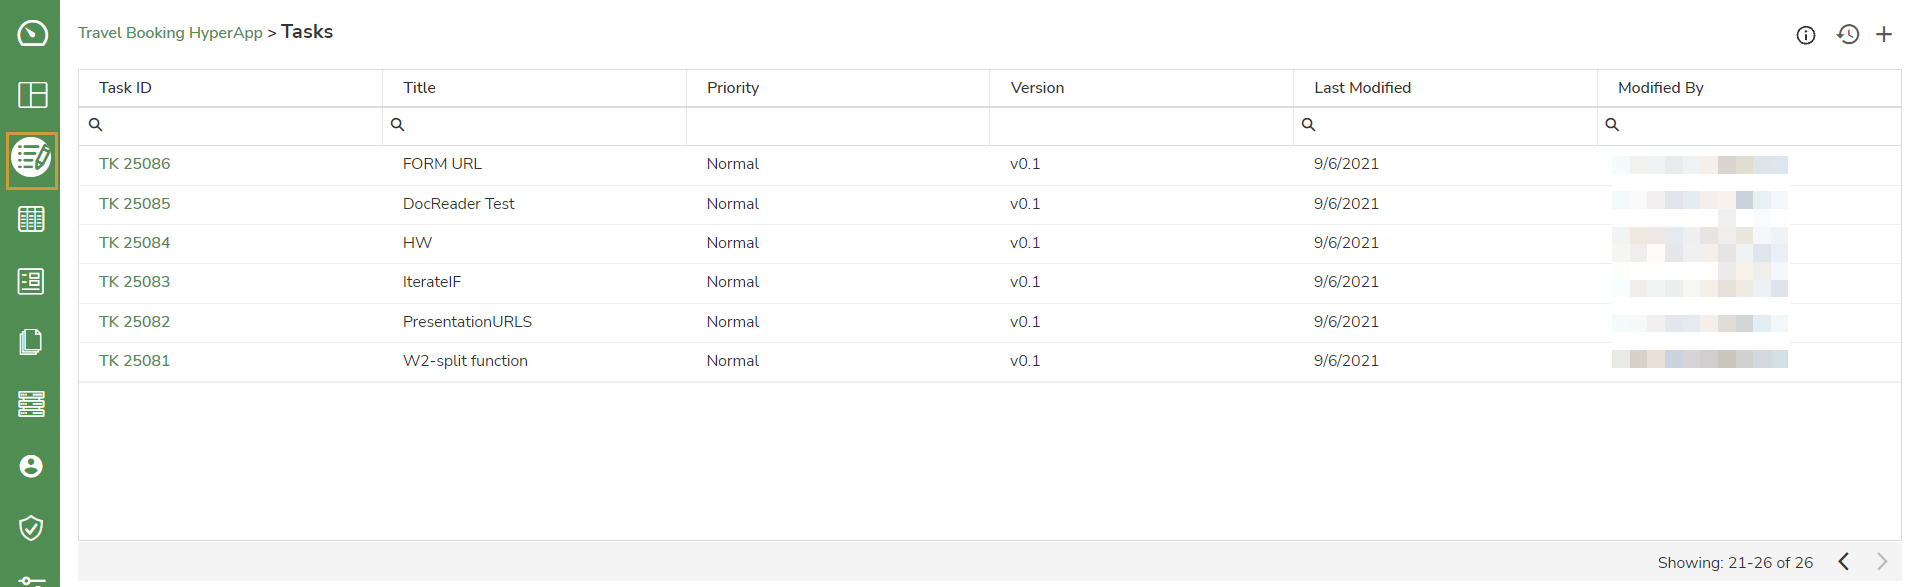
.png) icon on the menu bar to open the Tasks screen. All the Tasks within the HyperApp are listed here.
icon on the menu bar to open the Tasks screen. All the Tasks within the HyperApp are listed here.
.png)
A Task is created with a unique Task ID and you are redirected to the Design Studio.
In the Design Studio, you can design a task to perform target actions using the in-built nodes.
In the above example, the overall process can be divided into the following activities:
- You can use the Email Browser node to read the email, download the attachment, and write the email details to the Jiffy Table.
- You can use the Jiffy Select node to fetch the data from the Jiffy Table where the email details are stored.
- You can use the SAP node to upload the attachments and update the status in SAP.
- You can use the Email Sender node to send a completion email with the document number generated.
.png)
The task autosaves every 30 seconds.
.png) icon to execute the task in design mode.
icon to execute the task in design mode.